WordPress is a powerful and versatile platform for building and managing websites. To ensure your WordPress site stays secure and up to date with the latest features and improvements, it's crucial to regularly update both the WordPress core software and its plugins and themes. However, updating WordPress can be intimidating for beginners. In this guide, we will walk you through the steps to safely update your WordPress site without risking data loss or site downtime.
Step 1: Backup Your Website
Before you start any updates, it’s essential to create a backup of your website. This backup will serve as a safety net in case anything goes wrong during the update process. There are several ways to back up your WordPress site:
- Manual Backup: Use a plugin like UpdraftPlus or BackupBuddy to create a complete backup of your website, including the database and files. Download the backup to your computer for safekeeping.
- Web Hosting Control Panel: Some web hosting providers offer one-click backup solutions. Check with your hosting provider to see if they offer this feature.
Step 2: Set Up a Staging Environment
Before making updates on your live website, it’s a good practice to create a staging environment. A staging environment is a duplicate of your website where you can test updates without affecting the live site. Many hosting providers offer tools to create staging sites easily. Here’s how to do it:
- Log in to your hosting control panel (e.g., cPanel or Plesk).
- Locate the Staging or Clone feature provided by your hosting provider.
- Create a staging copy of your website. This will generate a separate URL where you can access your staging site.
Step 3: Update WordPress Core on Staging
Now that you have a staging environment, follow the same steps as mentioned earlier to update the WordPress core on your staging site:
- Log in to the WordPress Admin Dashboard of your staging site.
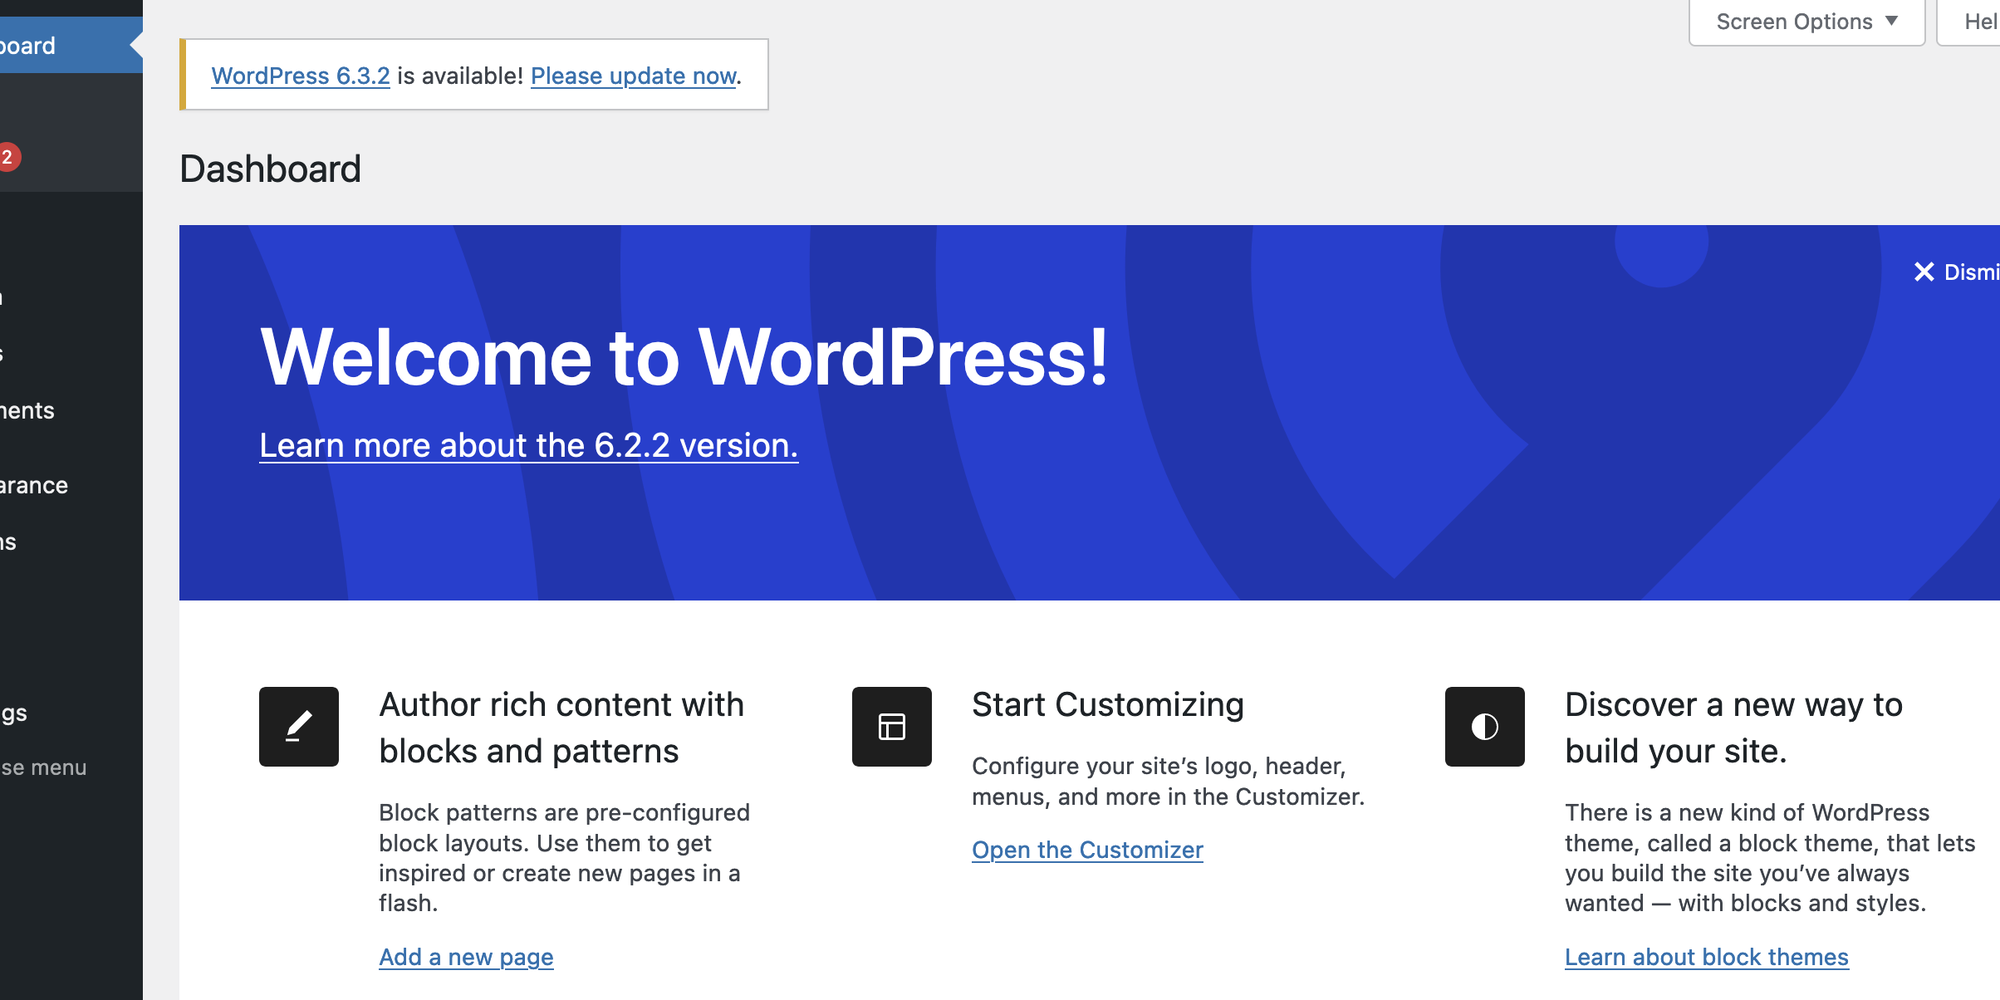
- Go to the Dashboard > Updates section.
- If a new version is available, you will see a message indicating so. Click the Update Now button.
- WordPress will automatically download and install the latest version. You may be prompted to log in again after the update is complete.
Step 4: Update Themes and Plugins on Staging
Similarly, update themes and plugins on your staging environment:
- Go to the “Themes” or “Plugins” section in your WordPress Dashboard of the staging site.
- Update all themes and plugins that have updates available.
Step 5: Test Staging Site Thoroughly
After updating WordPress, themes, and plugins on the staging site, thoroughly test your website’s functionality. Navigate through various pages and test all interactive elements to ensure everything is working as expected. Look for any design or layout issues that may have been caused by the updates.
Step 6: Monitor for Issues on Staging
Continue to monitor your staging website for any issues that may arise after the updates. If you encounter problems, you can troubleshoot them without affecting your live site.
Step 7: Apply Updates to Live Site
If everything looks good on the staging site and you are confident that the updates won’t cause any issues, you can proceed to apply the updates to your live website. This is typically done by repeating Step 3 and Step 4 on your live site.
Conclusion
By updating WordPress and testing on a staging environment first, you can minimize the risks associated with updates while ensuring that your live website remains secure and functional. Remember to always back up your site before making updates, and if you’re unsure about any step, seek assistance from a WordPress professional or your hosting provider.